Planning an e-bike day trip is less about how far the bike can go on paper and more about how much battery you still have when the weather turns, the route climbs, or the cafe socket you were banking on is out of use. A good plan e-bike day trip route charging kit setup gives you a generous range buffer, a route that suits assisted cycling, and enough kit to solve small problems without turning the bike into a pack mule.
In This Article
- Start With Range, Not Distance
- Choose A Route That Suits An E-Bike
- Plan Charging Stops Before You Leave
- Pack The Right Kit Without Overloading The Bike
- Check The Bike The Night Before
- Ride The Day By Battery Percentage
- Route, Charging And Kit: The Simple Plan I Would Use
- Frequently Asked Questions
Start With Range, Not Distance
The mistake is planning a 55km ride because the brochure says your e-bike can do 70km. That 70km figure usually assumes a light rider, low assist, mild weather, smooth roads and a battery in good condition. A UK day trip has none of those guarantees.
I would plan the usable range at about 60-70% of your normal real-world range. If your bike usually manages 65km before it feels tight, build the day around 40-45km unless you have a reliable charging stop. That sounds conservative, but it is the difference between enjoying the final hour and staring at the battery display while pretending you are relaxed.
If you have not already tested your bike, do one local loop first and note the battery percentage used. The method in our guide to calculating real-world e-bike range before buying works just as well for planning a ride you already own: compare distance, elevation, assist mode, rider weight and weather instead of trusting the optimistic display estimate.
Build in a battery reserve
For a day trip, I like these margins:
- Short relaxed ride: finish with at least 25% battery.
- Hilly ride: finish with at least 35% battery.
- Remote ride: finish with 40% if there is no easy train, taxi or charging backup.
- Winter ride: add another 10% margin because cold batteries and headwinds are a miserable combination.
That reserve is not wasted capacity. It covers wrong turns, road closures, an extra cafe stop, a friend who rides slower than expected, or the classic British weather forecast that was “mostly dry” until it wasn’t.
Use watt-hours for a better estimate
Battery size matters more than the number of assist levels on the handlebar. A 400Wh battery on a light hybrid e-bike may be fine for a flat canal-path day. A heavier cargo or full-suspension e-bike can burn through that same capacity quickly on hills.
As a rough planning guide:
- 300-400Wh: best for short day rides, flatter routes and riders happy to use low assist.
- 500-625Wh: the sweet spot for most UK day trips.
- 700Wh or dual-battery setups: useful for hilly routes, heavier riders, luggage or long rural loops.
If you want to compare bikes or spare batteries properly, read our watt-hours explainer before spending money. A bigger battery is not always the answer, but it does give you more planning freedom.
Choose A Route That Suits An E-Bike
An e-bike day trip should use the motor’s strengths without making the bike awkward. Smooth climbs, quiet lanes, railway paths and bridleway-style routes are ideal. Repeated gates, narrow barriers, deep mud and flights of steps are not.
Before you save the route, check four things: surface, climbing, traffic exposure and exit options. A route can look lovely on a map and still be a pain if it includes a muddy farm track with a heavy rear-hub bike and slick tyres.
Surface matters more than scenery
Canal towpaths, National Cycle Network routes, forest roads and quiet country lanes can all work, but check the surface notes where you can. A rigid commuter e-bike with 35mm tyres is happy on tarmac and light gravel. It is not much fun on rutted byways after rain.
The National Cycle Network is a good starting point because many routes are mapped with traffic-free sections and local links. I still cross-check with recent map notes or street-level imagery where possible, especially for rural shortcuts that may be gates, mud or private access in practice.
Avoid awkward stop-start sections
E-bikes are brilliant once rolling, but heavy when you keep having to lift, push or squeeze them through barriers. On a day trip, I would avoid routes with:
- Frequent kissing gates that force you to lift the front wheel.
- Steep stepped bridges over railway lines or canals.
- Very narrow anti-motorbike barriers on shared paths.
- Long unlit lanes if there is any chance of finishing late.
- Fast A-road sections without a usable verge or cycle lane.
This is where local ride reports beat a beautiful route screenshot. If several riders mention barriers or poor surfaces, believe them.
Plan one easy escape route
A proper day-trip plan includes a way to cut the ride short. That might be a railway station halfway round, a town with taxi firms, or a direct road back to the start. It is not pessimistic. It is what lets you choose a more interesting route without gambling the whole day on perfect conditions.
If your route uses trains, check bike rules before you leave. Folding e-bikes are usually easier, but full-size e-bikes can need reservations on some services and may be restricted at busy times. A bike that weighs 24kg is also a very different thing to wrestle onto a train than a normal hybrid.
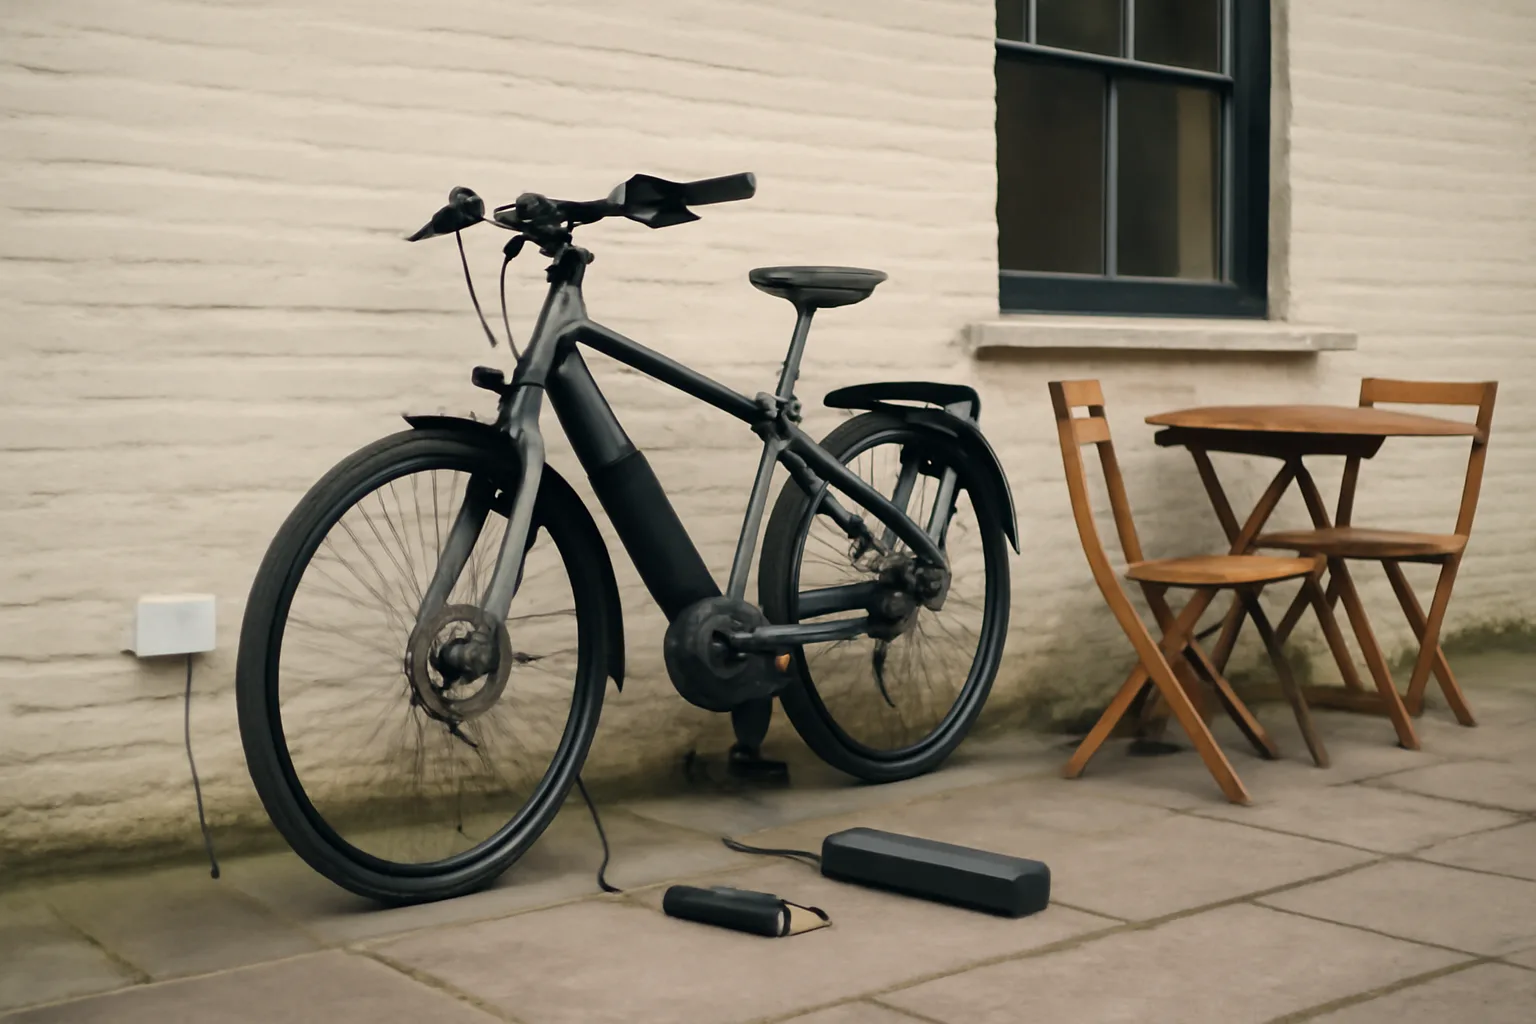
Plan Charging Stops Before You Leave
Charging is the part people leave vague: “We’ll charge at lunch.” That only works if you know where, for how long, whether you are allowed, and whether carrying the charger makes sense.
For most day rides, I prefer planning to finish without charging. If the route is longer or hilly enough to need a top-up, make the charging stop a confirmed part of the day rather than a hopeful bonus.
Know what kind of charging you actually need
Most e-bikes charge from a normal UK three-pin socket using the original charger. Public EV car chargers are not usually useful unless a venue specifically provides e-bike charging lockers or standard sockets. Do not assume you can plug into a car charger.
A normal Bosch, Shimano, Yamaha or Mahle charger is often around £60-£120 to replace from UK bike shops, so treat it as valuable kit. Some fast chargers cost more, often £120-£170, and are bulkier. I would not buy a second charger just for one occasional day trip, but it can make sense if you commute and tour regularly.
Check the stop, not just the town
A town with cafes is not the same as a charging plan. Before a long day ride, I would identify:
- Primary stop: a cafe, pub, campsite or bike shop where you can reasonably ask to charge.
- Backup stop: another venue within 5-8km.
- Time needed: even a useful top-up may need 45-90 minutes.
- Battery access: removable batteries are easier to charge discreetly indoors.
- Polite ask: offer to buy food or drink, and never trail a cable across a walkway.
Our guide to finding e-bike charging points on long UK rides goes deeper on apps, bike shops and realistic socket hunting. For a day trip, the key point is simple: phone ahead if the ride depends on charging.
Watch the legal basics
For normal road and cycle-path use in the UK, an electrically assisted pedal cycle must meet the EAPC rules, including pedal assistance rather than throttle-only riding, a maximum assisted speed of 15.5mph, and motor power limits. The official GOV.UK electric bike rules are worth checking if you are riding a converted bike, imported model or speed-pedelec-style machine.
That matters on a day trip because route access can change if the bike is not legally classed as an EAPC. If it is treated as a moped, cycle paths and bridleway-style assumptions no longer apply.
Pack The Right Kit Without Overloading The Bike
The best e-bike day-trip kit is boring. It keeps you warm, visible, hydrated, charged and able to fix one simple roadside problem. It does not include half a workshop.
I would rather spend money on a decent lock, a dry bag and a reliable pump than on clever gadgets that stay in a drawer. Day-trip kit gets used when you are tired, cold or late, so simple beats fancy.
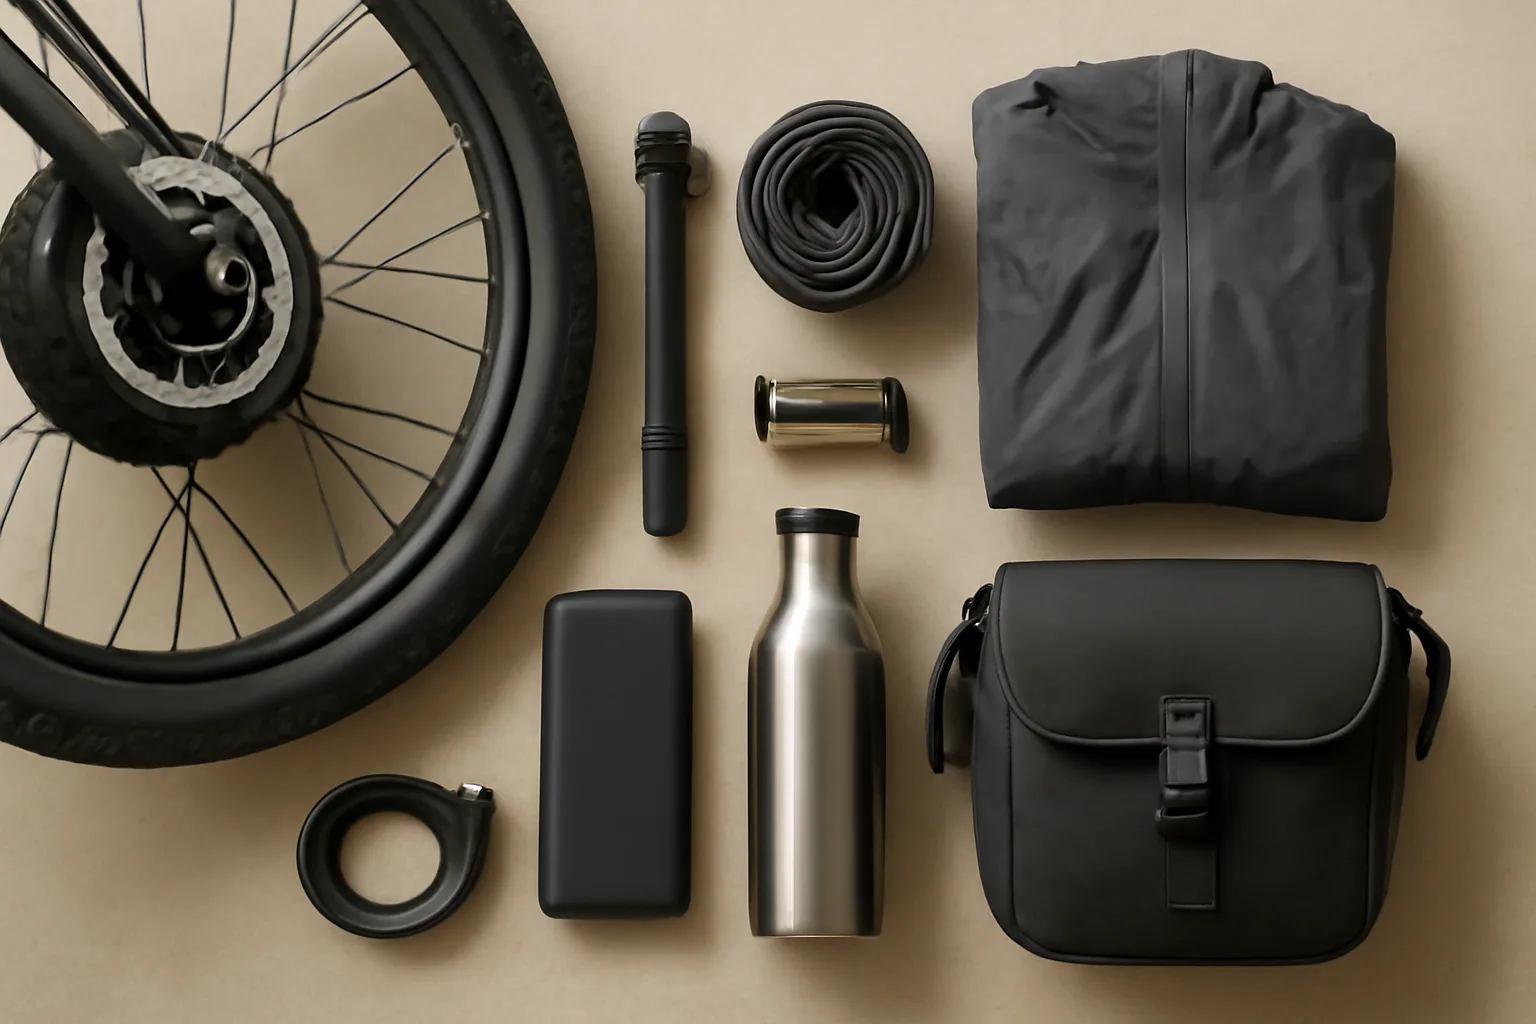
My core e-bike day-trip kit list
For a normal UK day ride, pack:
- Lock: a Sold Secure-rated D-lock or chain, usually £45-£110 from Halfords, Tredz or independent bike shops.
- Pump: a mini pump from Lezyne, Topeak or Blackburn, roughly £25-£45.
- Tube or repair kit: even if you run tubeless, carry a suitable tube; expect £5-£10.
- Multi-tool: a basic bike multi-tool with Allen keys, usually £12-£30.
- Waterproof layer: a packable cycling jacket, around £40-£120 depending on breathability.
- Power bank: 10,000mAh is enough for phone navigation, typically £15-£30.
- Front and rear lights: even for daytime rides; decent rechargeable sets start around £25-£60.
- Food and water: do not rely on the only village shop being open.
If you are carrying the main battery charger, wrap it in a dry bag and protect the plug. A cheap 5-litre dry bag costs about £8-£15 from Decathlon, Go Outdoors or Amazon UK. It is not glamorous, but it stops a wet charger becoming the day’s most expensive mistake.
Carry kit low and secure
A heavy charger in a backpack gets annoying after an hour. If your e-bike has a rack, a small rack-top bag or pannier is better. Topeak, Basil and Ortlieb options commonly sit between £45 and £140 in UK shops, depending on size and waterproofing.
For lighter day rides, a frame bag can work well for tools and snacks. Just check it does not rub cables or block battery removal. On step-through frames, handlebar bags can affect steering if overloaded, so keep them for light items only.
Do not forget security at stops
E-bikes attract attention. For a lunch stop, use a real lock through the frame and a fixed object, not a cafe-window “I can see it” arrangement. If your bike has a removable display or battery, take the display with you and lock the battery or remove it indoors.
For higher-value bikes, our e-bike lock guide is worth reading before the trip. A £70-£100 lock feels expensive until you compare it with replacing a £2,000 bike.
Check The Bike The Night Before
The night-before check is where you prevent most day-trip faff. Do it then, not while everyone else is waiting in the driveway.
Start with the obvious: fully charge the battery, update nothing unless you have time to test it, and check that the charger actually works. If your battery has been behaving oddly or dropping percentage quickly, compare it with the signs in our guide to when to replace an e-bike battery.
Run a five-minute mechanical check
Do this in order:
- Tyres: inflate to the pressure printed on the tyre, adjusted for load and surface.
- Brakes: squeeze both levers hard and check the pads bite before the lever reaches the grip.
- Wheels: spin each wheel and listen for rubbing, wobbles or loose mudguards.
- Chain: wipe and lube if it looks dry; e-bike drivetrains work hard.
- Bolts: check rack, bottle cage, stem and handlebar bolts by feel.
- Lights: charge them and turn them on before packing.
- Navigation: download the route offline and check the phone mount grips properly.
This is also the time to decide tyre pressure. For lanes and smooth cycle paths, stay near your normal pressure. For gravel or rough surfaces, you may want a little less, but do not go so soft that you risk pinch punctures on a heavy e-bike.
Fit accessories before the morning
If you are using a new phone mount, pannier, child seat, mirror or rack bag, fit it the day before and ride round the block. Cheap phone mounts can slip on rough lanes; good ones such as Quad Lock or SP Connect usually cost £30-£70 once you include the case or adapter. That is still cheaper than watching your phone bounce into a hedge.
If you are driving to the start, check your car rack’s e-bike weight limit. Many boot racks are not designed for heavy electric bikes. Towbar racks built for e-bikes often cost £350-£800, which is painful, but lifting a 25kg bike onto the wrong rack is worse. Our guide to e-bike car racks covers the practical differences.
Ride The Day By Battery Percentage
Once you are out, stop thinking about the claimed range and ride by battery percentage. If you planned to reach lunch with 60% left and you arrive with 42%, the route has changed whether the map says so or not.
The simplest rule is to check battery at thirds: after the first hour, at the furthest point, and before the final major climb or exposed section. If the percentage is lower than expected, reduce assist early. Waiting until 8% to become disciplined is how you end up riding a heavy e-bike like a normal bike with an anchor attached.
Use assist modes deliberately
Low assist is not a moral victory; it is a tool. Use it on flat, easy sections and save higher assist for climbs, headwinds, junctions and tired legs. On shared paths, lower assist also makes you smoother around walkers, dogs and children.
If traffic is part of the day, re-read our guide to riding an e-bike safely in traffic before choosing a route with busy-road sections. The motor helps with starts and hills, but it does not make close passes or poor junction design disappear.
Change the route before it becomes a problem
Three signs mean you should shorten the ride:
- Battery is 15% lower than planned before halfway.
- Weather has turned and the return leg is into a headwind.
- Someone is not enjoying it and is getting quieter rather than complaining.
That last one matters. E-bike day trips should feel like a good day out, not a test of character. Turn a 60km loop into a 42km loop, have the pub lunch, and call it a win.
Route, Charging And Kit: The Simple Plan I Would Use
For a first proper e-bike day trip, I would plan a 35-50km circular route with one cafe stop, one backup shortcut and no charging dependency. Pick a route with quiet lanes or surfaced traffic-free paths, start with a full battery, and aim to finish with at least 25%.
Here is the practical version:
- Choose the distance: use 60-70% of your proven real-world range.
- Check the climbing: avoid making the hardest climb the final 10km.
- Pick lunch near halfway: do not leave food until the end.
- Save the route offline: phone signal is not a plan.
- Carry basic repair kit: pump, tube, multi-tool and a real lock.
- Set a turnaround rule: if battery or weather is worse than expected, shorten the loop early.
If you are already comfortable with long rides, you can stretch the distance and add a charging stop. For most riders, though, the best first day trip is not the longest one. It is the one where the route, charging and kit are sorted enough that you can stop thinking about logistics and just enjoy the ride.
Frequently Asked Questions
How far should I plan for an e-bike day trip? Plan around 60-70% of your proven real-world range unless you have a reliable charging stop. For many UK riders, that means a 35-50km first day trip rather than chasing the maximum range on the display.
Should I carry my e-bike charger on a day ride? Carry it only if the route depends on charging or you know you have a safe indoor socket stop. A charger is bulky and often worth £60-£120, so for shorter rides I prefer planning a route that finishes without a top-up.
Can I charge an e-bike from a public EV charger? Usually no. Most e-bikes need a normal UK three-pin socket and their own charger. Some bike shops, cafes, campsites and tourist hubs offer e-bike charging, but check before relying on it.
What kit is worth buying first for e-bike day trips? Buy a proper lock, mini pump, spare tube, multi-tool, waterproof layer and power bank before spending on extras. Expect roughly £120-£250 for a sensible starter kit if you buy decent but not premium items.
Is a heavy e-bike a problem on cycle routes? It can be if the route has steps, narrow barriers, muddy tracks or frequent gates. Check surface notes and access points before leaving, especially with cargo bikes, folding e-bikes or bikes over 24kg.
What battery percentage should I finish with? Aim to finish with at least 25% on an easy route, 35% on a hilly route, and 40% if the ride is remote or the weather is poor. That buffer is what keeps wrong turns and headwinds from spoiling the day.