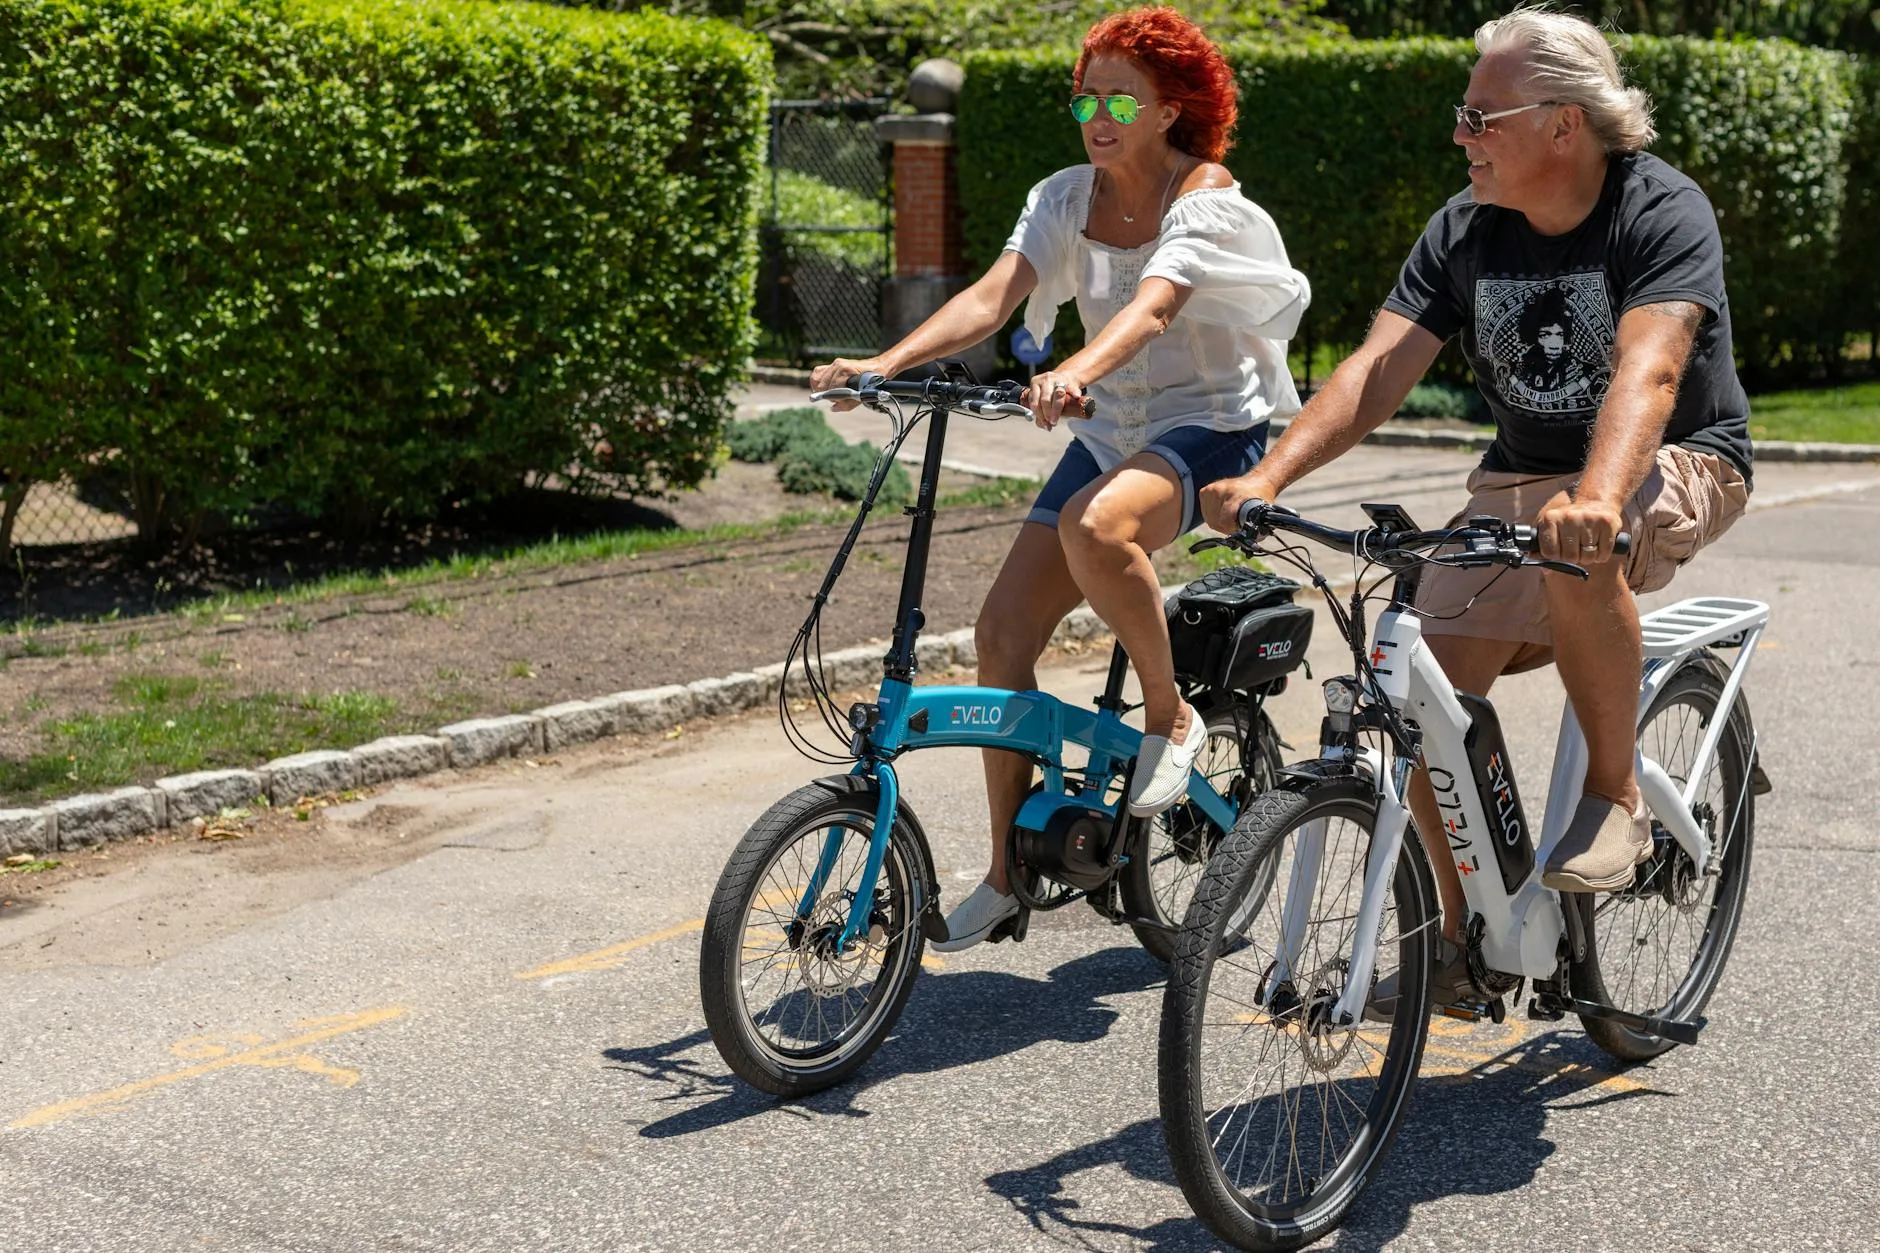
Three weeks into your new e-bike commute and everything is great — except for the fact that sitting down at your desk feels like punishment. You’ve tried padded shorts (undignified under work trousers), you’ve lowered the seat, raised the seat, and tilted it in every direction. The saddle that came with the bike just doesn’t work for the 8 miles you’re now doing every morning. Time to find one that does. For related guidance, see our Best E-Bike Rear Racks 2026: Heavy-Duty Picks for Commuting guide. For related guidance, see our How to Choose a Folding E-Bike: Weight, Fold Size & Range guide.
In This Article
- Why E-Bike Commuting Needs a Different Saddle
- Saddle Anatomy: What You’re Actually Sitting On
- Measuring Your Sit Bones
- Saddle Width: The Most Important Number
- Padding and Cushioning: More Isn’t Better
- Saddle Shape: Flat vs Curved vs Cutout
- Materials and Cover Types
- Saddle Position and Adjustment
- The E-Bike Upright Position Factor
- Best Saddles for E-Bike Commuting in 2026
- Breaking In a New Saddle
- When to Replace Your Saddle
- Frequently Asked Questions
Why E-Bike Commuting Needs a Different Saddle
E-bike commuting creates a specific set of demands that differ from both road cycling and casual weekend rides. Understanding these differences is the key to picking the right saddle — and avoiding the expensive trial-and-error approach.
The Speed and Weight Factor
E-bikes are heavier than regular bikes — typically 20-25kg versus 8-12kg for a road bike. That extra weight, combined with the motor assistance, means you’re often riding at higher sustained speeds (15-20 mph) in a more upright position. You’re also spending more time sitting rather than standing on climbs, because the motor handles the hills. More continuous seated time means more pressure on your contact points.
The Commuting Posture
Unlike road cyclists who lean well forward (distributing weight across hands, feet, and saddle), e-bike commuters typically ride in a much more upright position. This shifts a larger proportion of your body weight directly onto the saddle. A saddle that works fine when you’re hunched over the handlebars of a road bike can be torture when you’re sitting upright on your electric commuter bike.
Daily Repetition
Weekend riders sit on their saddle for maybe 2-4 hours per week. If you commute 5 miles each way, five days a week, that’s 50 miles — and roughly 3-4 hours of saddle time — every single week, week after week. Minor discomfort that you’d ignore on a Saturday ride becomes a genuine problem when it’s there every Monday morning. Your saddle needs to work for the long term, not just for the occasional outing.
Saddle Anatomy: What You’re Actually Sitting On
Understanding the parts of a saddle helps you make sense of what manufacturers are claiming and what actually matters.
The Shell
The base structure of every saddle. Usually made from nylon, carbon composite, or a flexible polymer. The shell’s flex determines how much the saddle moves with you. A rigid shell transfers more road vibration. A flexible shell absorbs some vibration but can feel vague under you. For commuting, moderate flex is ideal — enough to cushion rough roads without feeling spongy.
The Padding
Sits on top of the shell. Materials include:
- High-density foam — the standard. Firms up over time, provides consistent support. Most commuter saddles use this.
- Gel — softer initial feel, moulds around your sit bones. Sounds great, but gel saddles tend to compress and lose support on rides over 30 minutes. The cushioning that feels amazing for the first mile becomes a mushy, unsupportive mess by mile five.
- Memory foam — middle ground between foam and gel. Slower to conform but holds its shape better than gel over long rides.
- No padding (leather or minimal) — Brooks and similar leather saddles mould to your body over hundreds of miles. Brilliant long-term but require a painful break-in period of 500+ miles.
The Cover
What your backside actually contacts. Synthetic leather (most common), real leather, or technical textiles. For commuting, waterproof or water-resistant covers are worth seeking out — getting to work with a soaked saddle isn’t fun, and in the UK, rain is a regular commuting companion.
The Rails
Two metal or carbon rods underneath that connect the saddle to the seatpost clamp. Standard rails are 7mm round, fitting most seatposts. Oversized or proprietary rails may need specific seatpost adaptors. Before buying, check that your e-bike frame size and seatpost clamp are compatible with the rail system.
Measuring Your Sit Bones
This is the single most important step, and the one most people skip. Your sit bone width (measured in millimetres) determines what saddle width you need. Get this wrong, and no amount of padding or fancy materials will make the saddle comfortable.
What Are Sit Bones?
Your ischial tuberosities — the two bony protrusions at the base of your pelvis. When you sit on a firm surface, these are the two points taking the load. A properly fitted saddle supports your weight on these bones. A poorly fitted one puts pressure on the soft tissue between them, which causes numbness, pain, and that distinctive “I hate my bike” shuffle when you stand up.
How to Measure at Home
You don’t need a fancy fitting tool. Here’s the method:
- Place a piece of corrugated cardboard on a firm, flat surface (a wooden chair works perfectly).
- Sit on the cardboard in your normal riding position — lean slightly forward for a commuting posture.
- Lift your feet off the ground so your full weight is on the cardboard.
- Stand up carefully without disturbing the cardboard.
- Look at the two depressions your sit bones made — measure the distance between the centres of these two dents in millimetres.
- Add 20-25mm to this measurement — that’s your ideal saddle width.
Most men measure 100-130mm between sit bones; most women measure 110-150mm. There’s enormous individual variation regardless of gender, which is why measuring matters more than picking “men’s” or “women’s” models.
Bike Shop Fitting
If the cardboard method feels imprecise, many UK bike shops offer sit bone measurement as a free service. Evans Cycles, Halfords, and independent bike shops often have pressure-mapping tools or gel pad measurement systems. It takes 5 minutes and removes the guesswork. Some shops will let you try saddles from their demo library, which is worth asking about.

Saddle Width: The Most Important Number
Once you have your sit bone measurement, choosing the right width is straightforward — but getting it wrong in either direction causes different problems.
Too Narrow
If your saddle is narrower than your sit bones require, the bones hang over the edges and your weight transfers to the soft tissue in between. This causes numbness, pain in the perineal area, and that deeply unpleasant tingling sensation after 20 minutes. It’s the most common fitting problem because stock saddles on e-bikes tend to be medium width, which doesn’t suit everyone.
Too Wide
A saddle that’s too wide causes chafing on the inner thighs as they rub against the saddle edges with every pedal stroke. It also prevents your legs from moving freely, which can alter your pedalling mechanics and lead to knee discomfort over time. You’ll notice this as a rubbing sensation within the first few rides.
Width Categories
Most manufacturers offer 3-4 width options:
- Narrow (130-140mm) — suits sit bones under 100mm; typically road racing saddles
- Medium (145-155mm) — suits sit bones 100-120mm; good for moderate riding positions
- Wide (155-170mm) — suits sit bones 120-140mm; ideal for most upright commuters
- Extra wide (170mm+) — suits sit bones over 140mm; very upright positions, cruiser bikes
For e-bike commuting in a typical upright position, most riders fall into the wide category. Don’t assume you need narrow because you associate wide saddles with grandma’s shopping bike — it’s about anatomy, not style.
Padding and Cushioning: More Isn’t Better
This is the most counterintuitive thing about saddle comfort. That big, squidgy gel saddle from Halfords for £15? It’ll feel amazing for the first two miles and then progressively worse for every mile after that.
Why Thick Padding Fails
Thick, soft padding compresses under your sit bones, which is what you want. But it also compresses and pushes up around them, creating pressure on the soft tissue that should be completely unloaded. It’s like sitting on a beanbag versus sitting on a firm chair — the beanbag feels softer, but after an hour your back is killing you because there’s no support structure.
The Goldilocks Zone
For commutes of 20-60 minutes (which covers most UK e-bike commutes of 3-10 miles), you want moderate padding — enough to cushion vibration and road texture, firm enough to support your sit bones without collapsing around them.
I’ve tried about six saddles over my commuting life. The cheapest was the £12 gel cover I stuck over the stock saddle — total waste, slipped around constantly. The most expensive was a £130 Brooks Cambium. The one I actually ride every day cost £45 and has medium-density foam that just works. Sometimes the answer is in the middle.
Women-Specific Considerations
On average, women have wider sit bones and a different pelvic angle. Many saddle brands offer women-specific models that are wider, shorter (front to back), and have larger centre cutouts to relieve pressure. If you’re a woman commuting on an e-bike, these are worth trying — but don’t assume you need one. Sit bone measurement matters more than gender-specific marketing. Some women are perfectly comfortable on “men’s” saddles because their sit bones happen to be narrower.
Saddle Shape: Flat vs Curved vs Cutout
The shape of the saddle from front to back and side to side affects how your pelvis is supported and how much you can move on the saddle during your ride.
Flat Profile
A flat saddle (viewed from behind) gives you more freedom to shift your position side to side. Good for riders who like to move around on the saddle, which is common on longer commutes where you’re adjusting position at traffic lights, looking over your shoulder, and occasionally standing.
Curved (Round) Profile
A curved saddle cradles your sit bones in a specific position. More locked-in feeling, which some riders find secure and others find restrictive. If you tend to sit in one position and pedal steadily, a curved profile works well. If you’re constantly shuffling, it can create hotspots.
Centre Cutout
A channel or hole running down the centre of the saddle. This relieves pressure on the perineal area (the soft tissue between your sit bones) and is particularly beneficial for:
- Anyone experiencing numbness — a cutout is the most effective solution
- Upright riding positions — where more weight is on the saddle
- Longer commutes (30+ minutes) — continuous pressure on soft tissue increases over time
The NHS recognises cycling as excellent for overall health, but prolonged perineal pressure from ill-fitting saddles is a known concern. A centre cutout or channel is the simplest preventive measure.
After switching to a cutout saddle for my commute, the numbness I’d been experiencing on the second half of my 40-minute ride disappeared completely. It’s the single most impactful saddle feature for commuters, in my experience.
Materials and Cover Types
The cover material matters more for commuting than for weekend riding because of one thing: British weather.
Synthetic Leather
Most saddles use synthetic leather (polyurethane or similar). It’s waterproof, easy to clean, durable, and comes in various textures. For commuting, this is the practical choice — wipe it with a cloth and you’re done.
Real Leather (Brooks-Style)
Natural leather saddles (Brooks B17, Cambium) develop a personalised shape over time as the leather moulds to your anatomy. The comfort at 1,000 miles is extraordinary. But the break-in period is 300-500 miles of gradually increasing comfort, during which you’ll question your purchase at least twice. Traditional leather also needs regular treatment with proofide and doesn’t love being left in the rain.
The Brooks Cambium range uses vulcanised rubber with an organic cotton top — it gives you the Brooks shape without the leather maintenance. Worth considering at about £60-80.
Technical Textiles
Some performance saddles use Kevlar-reinforced or synthetic fabric covers. These are lighter and can breathe better than leather, reducing sweat buildup. For commuting, they’re a marginal gain — synthetic leather does the job.
Weatherproofing
Invest in a simple waterproof saddle cover (about £5-8 from Halfords or Amazon UK) regardless of your saddle material. Slip it on when you park at work, whip it off before the ride home. Your saddle lasts longer, and you don’t start your evening commute on a wet seat. Small investment, big quality-of-life improvement.
Saddle Position and Adjustment
A perfect saddle set up badly will still hurt. Once you’ve chosen your saddle, dialling in the position is equally important.
Height
The foundation of comfortable riding. When seated with your heel on the pedal at its lowest point, your leg should be almost fully extended — a very slight bend at the knee. When you move your foot to the ball-of-foot pedalling position, you’ll have a proper pedalling bend. Too low and your knees ache. Too high and your hips rock side to side, creating friction on the saddle.
Fore/Aft Position
This is how far forward or backward the saddle sits on its rails. The starting point: with the cranks horizontal (pedals level), drop a plumb line from the front of your forward kneecap — it should fall roughly over the pedal axle. For commuting, a slightly further back position shifts more weight to your sit bones and less to your hands, which suits the upright posture.
Tilt
Start dead level. If the nose is tilted up, it puts pressure on soft tissue. If it’s tilted too far down, you’ll slide forward constantly and grip the handlebars to stay in position, which strains your wrists and shoulders. A very slight downward tilt (1-2 degrees) works for many commuters, but start level and adjust incrementally.
Making Adjustments
- Set the saddle level using a spirit level app on your phone.
- Ride for a week at this position.
- If you feel forward pressure on soft tissue, tilt the nose down 1 degree.
- If you’re sliding forward, tilt the nose up 1 degree.
- If your hands go numb, slide the saddle back 5mm on the rails.
- Make only one change at a time and ride for at least 3 commutes before adjusting again.
The E-Bike Upright Position Factor
E-bikes, particularly step-through commuter models, put you in a much more upright position than a road bike or even a hybrid. This has significant implications for saddle choice that many new e-bike riders don’t realise.
Weight Distribution Changes
On a road bike with drop handlebars, roughly 40% of your weight is on the saddle, 30% on the handlebars, and 30% on the pedals. On an upright e-bike, those numbers shift — 60-70% of your weight can end up on the saddle, with minimal load on the handlebars.
This means:
- You need more support — the saddle is doing more work
- Padding matters more — there’s more force to absorb
- Width is critical — wider sit bone support to handle the increased load
- Centre cutouts become near-essential — more weight means more pressure on sensitive areas
The Motor Effect
With motor assist, you’re pedalling with less force than on a regular bike. Less force through the pedals means less weight transferred to them during each stroke, which means — you guessed it — even more sustained weight on the saddle. Riders who “hover” and push hard on the pedals instinctively unload the saddle; e-bike riders who let the motor do the heavy lifting tend to sit more heavily.
If you’re maintaining your e-bike regularly and keeping the assist system in good condition, your motor runs efficiently and you can focus on finding the right saddle position rather than compensating with pedal effort. Our maintenance schedule covers what to check and when.
Best Saddles for E-Bike Commuting in 2026
Based on what works for the upright position, daily use, and British weather.
Budget: Under £30
- Selle Royal Respiro Moderate (about £25 from Halfords) — centre channel, moderate padding, synthetic cover. The width range fits most commuters. I’ve recommended this to three friends who commute by e-bike, and all three kept it. It won’t win design awards, but it works.
- Büchel Wittkop Medicus Twin (about £28 from Amazon UK) — German-designed, excellent two-part construction that eliminates centre pressure entirely. Not the prettiest saddle, but comfortable from day one.
Mid-Range: £40-80
- Brooks Cambium C17 (about £65 from Evans Cycles or Sigma Sports) — the shape is timeless, the vulcanised rubber requires zero break-in, and it looks great on any e-bike. The carved version (with a cutout) is £75 and even better for commuting.
- Ergon ST Core (about £55 from Decathlon) — specifically designed for upright riding positions, anatomic shape with a generous cutout, reflective elements on the back for visibility. My current commuter saddle and the one I keep going back to after testing others.
Premium: £80+
- SQlab 621 Ergolux Active (about £90 from specialist retailers) — German engineered with a step-down design that works brilliantly for e-bike commuting. Available in multiple widths matched to sit bone measurement. The active padding adapts to your movement.
- Selle Italia Comfort Boost Superflow (about £85 from Evans Cycles) — wide, cushioned, with an oversized cutout. Built for exactly this use case — upright, sustained city riding.
For most commuters, the Selle Royal Respiro or Brooks Cambium C17 will sort you out. The Ergon is my personal pick — it was right from ride one and still comfortable after a year of daily commuting.
Breaking In a New Saddle
Even the right saddle needs a settling-in period. Your body and the saddle materials both adapt over the first few weeks.
The First Week
Expect some discomfort — your sit bones are adjusting to a new pressure point, and the saddle foam is compressing to match your anatomy. This isn’t the same pain as a bad saddle; it’s a general awareness that there’s something new under you. If you’re getting sharp pain, numbness, or chafing from day one, the saddle might not be right — but give it at least 5 rides before making that call.
Weeks Two to Four
The foam has compressed to its working state, and your body has adapted. Comfort should be noticeably better. If you’re still uncomfortable after 3 weeks of regular commuting, reassess — either the width is wrong, the position needs adjusting, or the saddle genuinely isn’t for you.
Speeding Up the Process
- Ride every day — consistency helps the adaptation
- Use chamois cream — reduces friction during the break-in period. Assos chamois cream (about £12 from Wiggle or Amazon UK) is the gold standard.
- Wear decent cycling underwear — not full lycra, just padded liner shorts under your normal trousers. Endura and dhb make affordable options starting at about £20.
When to Replace Your Saddle
Saddles don’t last forever. Here’s how to tell when yours is done.
Signs It’s Time
- Visible wear — cover cracking, foam showing through, rails bent
- Changed comfort — a saddle that used to be fine but now isn’t, despite no position changes, has probably lost its supportive structure
- Foam compression — push your thumb into the padding in the sit bone area. If it doesn’t spring back within a second, the foam is dead
- Water ingress — if the cover has failed and the padding soaks up water, the saddle will never dry properly and will deteriorate rapidly
Typical Lifespan
A commuter saddle used daily sees roughly 5,000-8,000 miles per year. Most quality saddles last 2-3 years at this intensity before the padding loses meaningful support. Budget saddles may only last 12-18 months. A Brooks leather saddle can last a decade or more with maintenance.
If you’re getting a new saddle, it’s worth checking the rest of your contact points too — bar grips and pedals wear at similar rates and contribute to overall riding comfort.
Frequently Asked Questions
Should I get a men’s or women’s specific saddle? Start with your sit bone measurement, not your gender. Women on average have wider sit bones and may benefit from wider, shorter saddles with larger cutouts, but there’s huge individual variation. A man with wide sit bones will be more comfortable on a “women’s” saddle than a narrow “men’s” one. Measure first, then try saddles in your correct width regardless of how they’re marketed.
Can I just add a gel cover to my existing saddle? Gel covers are a temporary fix at best. They add bulk that can make the saddle too wide, they shift around under you, and they don’t address the underlying fit issue. If your saddle is the wrong width, a gel cover makes it a softer wrong width. For a few pounds more than a quality gel cover, you could buy a proper budget saddle like the Selle Royal Respiro that actually fits.
How wide should my saddle be for e-bike commuting? Measure your sit bones (cardboard method or bike shop fitting) and add 20-25mm. Most e-bike commuters need a saddle in the 150-170mm width range because of the upright riding position. The stock saddle on many e-bikes is 140-150mm, which is too narrow for the majority of riders in an upright posture.
Do padded shorts work instead of a better saddle? They help, but they’re addressing the symptom rather than the cause. A well-fitted saddle should be comfortable without padded shorts for commutes up to about 45 minutes. For longer rides, padded liner shorts can add comfort on top of a good saddle. But wearing padded shorts to compensate for a bad saddle is like wearing extra socks for shoes that don’t fit.
Is a leather saddle like a Brooks worth the break-in for commuting? If you’re committed to riding daily for years, yes — a Brooks B17 or Cambium becomes extraordinarily comfortable after 500+ miles because it moulds to your exact anatomy. If you want comfort from day one, the Cambium (vulcanised rubber, no break-in) gives the Brooks shape without the wait. Traditional leather needs proofide treatment and doesn’t love being left in the rain, which makes it fussier for daily commuting.