You’re bombing down a country lane at 20 mph, a white van brushes past with inches to spare, and your heart’s hammering for the next mile. You know exactly what happened — but without footage, it’s your word against theirs. That near-miss is precisely why more e-bike riders across the UK are fitting action cameras as dashcams, and the setup is simpler than you’d think.
Whether you’re commuting through central London or exploring bridleways in the Peak District, having a reliable camera rolling means you’ve got evidence if things go wrong and peace of mind when they don’t. I’ve been running a dashcam setup on my daily commuter for over a year now, and it’s changed how I ride — not because it makes me safer directly, but because it makes me calmer knowing everything is recorded.
In This Article
- Why Every E-Bike Rider Needs a Dashcam
- What to Look for in an E-Bike Action Camera
- Best Action Cameras for E-Bike Dashcam Use in 2026
- Front, Rear, or Both: Choosing Your Camera Setup
- Mounting Options and Where to Place Your Camera
- Power Solutions for Continuous Recording
- Setting Up Loop Recording and Incident Protection
- Weather Protection and Riding in UK Conditions
- Legal Considerations for Cycling Dashcams in the UK
- How to Submit Dashcam Footage to the Police
- Maintaining Your Dashcam Setup
- Frequently Asked Questions
Why Every E-Bike Rider Needs a Dashcam
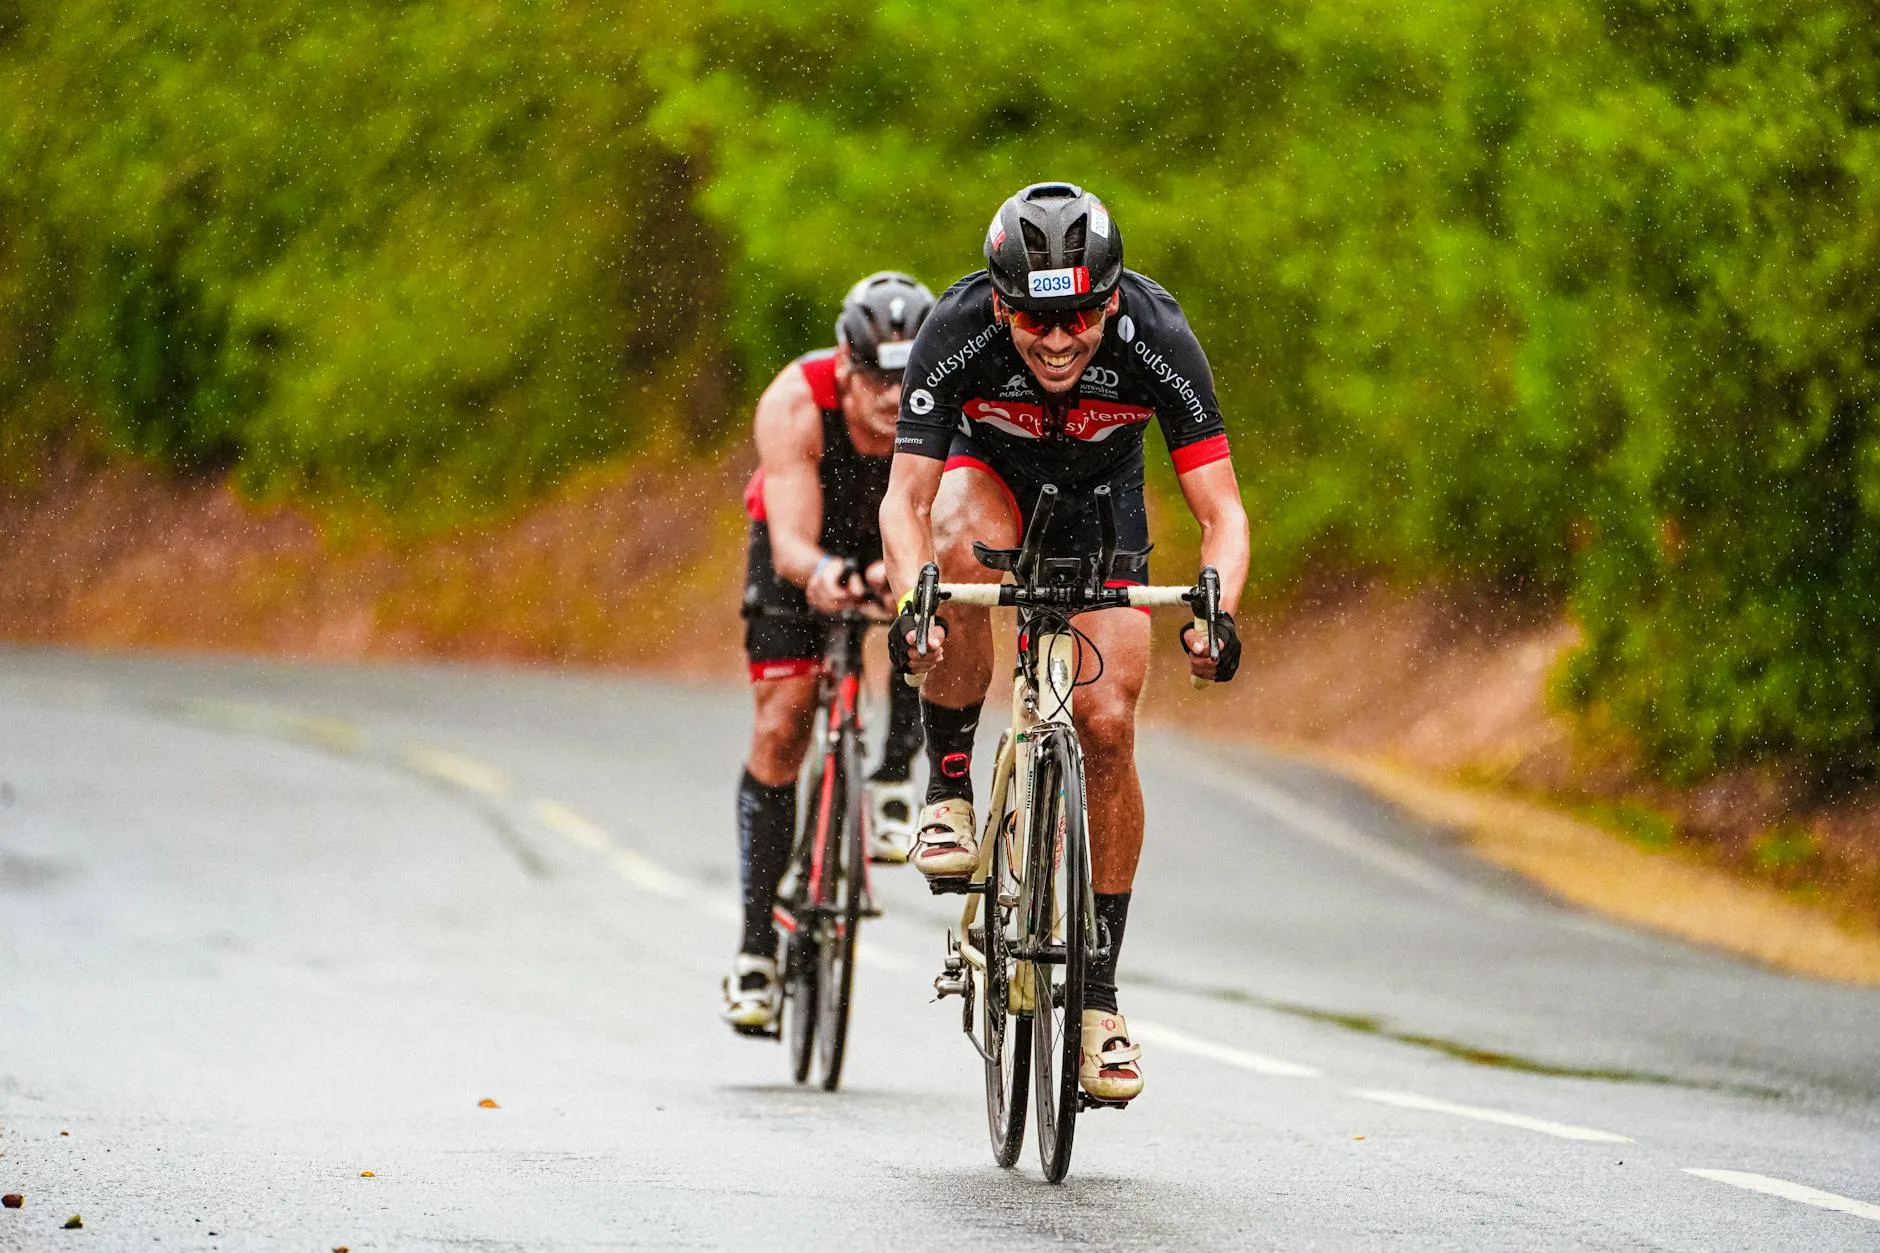
E-bikes put you in a tricky spot on UK roads. You’re moving faster than a traditional cyclist — often keeping pace with traffic at 15.5 mph on the motor, and faster still on downhills — but drivers don’t always register that. Close passes, left hooks, and dooring incidents are depressingly common, and the police are far more likely to act when you hand them clear video evidence.
The Evidence Problem
The Metropolitan Police’s Operation Snap and similar schemes across UK forces now accept dashcam footage for prosecuting dangerous driving. Without footage, most incidents become he-said-she-said situations that go nowhere. With it, you’ve got timestamps, location data, and clear visual proof.
It’s not just about crashes either. A camera acts as a deterrent — drivers who spot a visible camera tend to give more room. After six months of riding with a rear-facing camera, I noticed drivers giving noticeably wider passes, particularly on narrower roads where they’d previously squeezed through.
Insurance and Liability
If you’re involved in a collision, footage can be decisive for insurance claims. E-bikes aren’t cheap — most decent ones cost £2,000-5,000 — and proving the other party was at fault could save you thousands. Several UK cycling insurance providers, including Laka and PedalSure, have confirmed that dashcam footage strengthens claims considerably.
What to Look for in an E-Bike Action Camera
Not every action camera works well as a cycling dashcam. The requirements are different from strapping a GoPro to your helmet for a mountain biking video. You need reliability over cinematic quality, and runtime over resolution.
Video Quality
For dashcam purposes, 1080p at 30fps is the sweet spot. It’s sharp enough to read number plates at reasonable distances and doesn’t chew through storage the way 4K does. If your camera supports it, 1080p at 60fps is even better — smoother footage makes it easier to identify details in fast-moving situations.
4K sounds tempting, but the files are massive. A 128GB card holds roughly 8-9 hours at 1080p/30fps, but only about 3-4 hours at 4K. For a daily commute where you’re recording continuously, that storage difference matters.
Stabilisation
Electronic image stabilisation (EIS) is essential. E-bikes generate plenty of vibration, especially on rougher UK roads, and without stabilisation your footage will be a juddering mess that’s useless as evidence. Look for cameras with built-in EIS — HyperSmooth (GoPro), RockSteady (DJI), or FlowState (Insta360) are the industry leaders.
Field of View
A wide field of view — 140° or more — captures more of the road scene. This matters because incidents often happen at the periphery of your vision. A narrow 90° lens might miss the car that cut in from the left.
Battery Life and Power Options
This is where most action cameras fall short for dashcam use. A GoPro Hero 13 lasts about 90 minutes on a single charge — fine for a short commute, useless for a full day. You’ll either need a camera with exceptional battery life or an external power solution (more on this below).
Best Action Cameras for E-Bike Dashcam Use in 2026
After testing several options and speaking to riders across UK cycling forums, here are the cameras that actually work for e-bike dashcam duty.
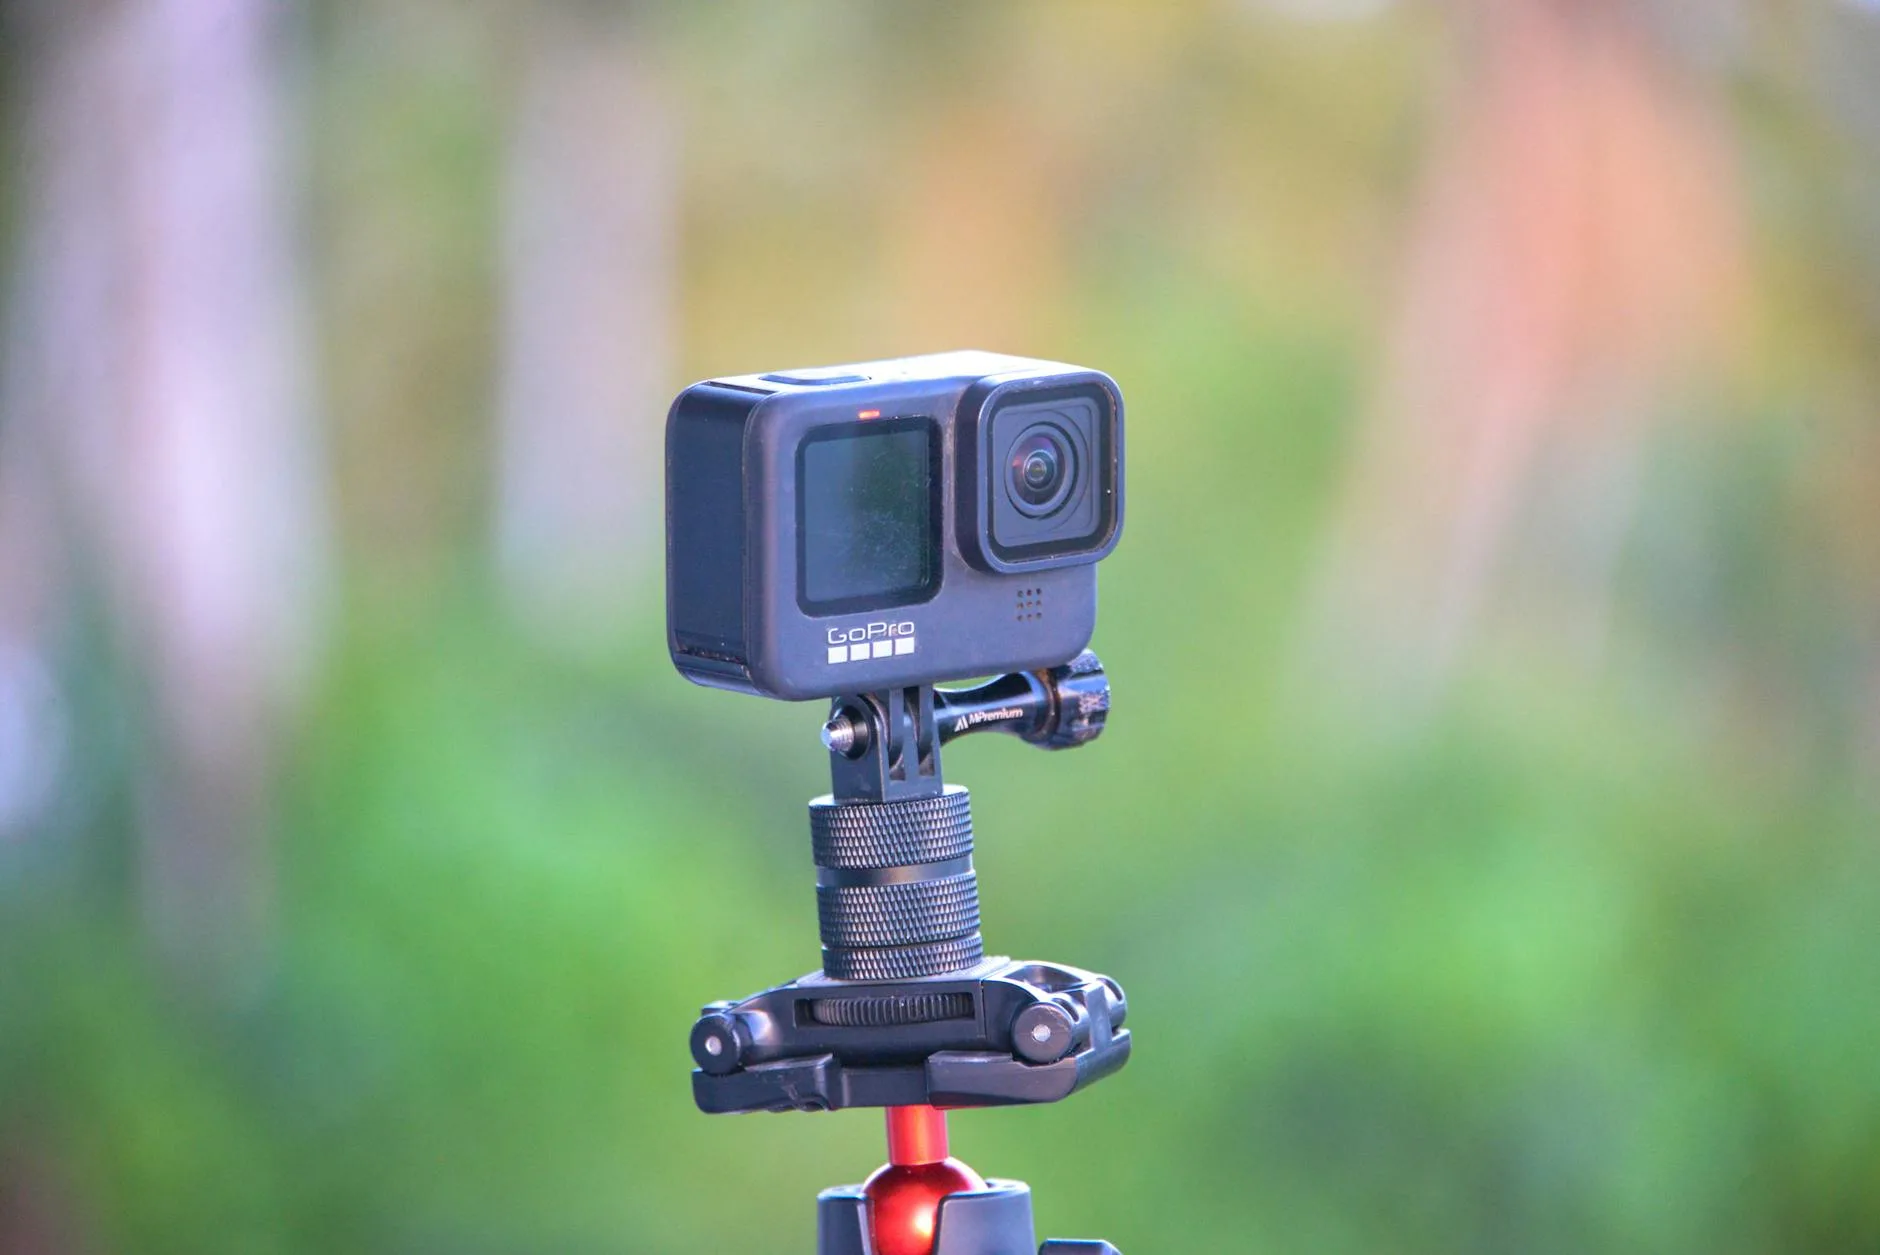
GoPro Hero 13 Black — Best Overall
The Hero 13 remains the gold standard for action cameras, and for good reason. HyperSmooth 6.0 stabilisation handles e-bike vibration brilliantly, the 27MP sensor delivers excellent footage even in overcast British conditions, and the modular design means you can add accessories easily.
- Price: About £350-400 from Amazon UK or Currys
- Resolution: Up to 5.3K, but use 1080p/60fps for dashcam duty
- Battery: Around 90 minutes (you’ll need external power for commutes)
- Waterproofing: 10 metres without a case — handles any British downpour
- Why it wins: The image quality in low light (early morning winter commutes, tunnels, underpasses) is noticeably better than the competition. Number plates are readable at 5-6 metres even in poor conditions.
DJI Osmo Action 5 Pro — Best for Battery Life
DJI’s latest action camera has a genuinely impressive 160-minute battery life, which is nearly double the GoPro’s. For riders doing longer commutes or not wanting to fuss with external power, this is a serious advantage.
- Price: About £300-330 from Amazon UK or John Lewis
- Resolution: 4K/120fps max, use 1080p/30fps for dashcam
- Battery: 160 minutes — enough for most commutes without external power
- Waterproofing: 20 metres — overkill, but reassuring
- Why it’s great: The magnetic quick-release mount is dead clever. Pop the camera off at traffic lights, clip it back on in seconds. Makes theft less of a worry at the bike rack.
Insta360 GO 3S — Best for Discreet Mounting
If you want something small and unobtrusive, the GO 3S weighs just 39g and is barely bigger than a thumb. It won’t attract attention or upset the aesthetics of your e-bike, and the magnetic mount system means you can move it between bikes in seconds.
- Price: About £280-320 from Amazon UK
- Resolution: 4K, use 1080p for dashcam
- Battery: 38 minutes standalone, 170 minutes with the Action Pod case
- Waterproofing: IPX8
- Trade-off: The tiny sensor means low-light performance isn’t as strong. Fine for daytime commutes, less reliable for winter evening rides.
Drift Ghost XL — Best Budget Option
Drift cameras don’t get the attention they deserve. The Ghost XL offers 5 hours of battery life from a single charge — utterly unmatched by any GoPro or DJI camera. It was practically designed for dashcam use.
- Price: About £130-160 from Amazon UK
- Resolution: 1080p max
- Battery: Up to 5 hours — full day of commuting without charging
- Waterproofing: IPX7 with included case
- Why it works: Loop recording is built in, the rotating lens lets you adjust angle without remounting, and the price means you won’t cry if it gets knocked off. The image quality won’t win any awards, but it’s perfectly adequate for number plate capture during daylight.
Front, Rear, or Both: Choosing Your Camera Setup
The ideal setup is two cameras — one forward-facing and one pointing backwards — but that’s not always practical or affordable. Here’s how to decide.
Rear-Only Setup
If you can only afford one camera, point it backwards. The vast majority of dangerous incidents — close passes, tailgating, rear-end shunts — happen behind you. A rear-facing camera also captures number plates more reliably, since vehicles approaching from behind are moving at a similar speed to you.
I ran a rear-only setup for my first six months and it caught three reportable close passes. Every one resulted in the police sending a warning letter to the driver.
Front-Only Setup
A forward-facing camera is more useful if you ride through areas with red-light jumping, pedestrian conflicts, or complex junctions. It also captures your speed and road position, which can prove you were riding responsibly if someone claims otherwise.
Dual Camera Setup
The gold standard. Run a GoPro or DJI on the handlebars facing forward and a Drift Ghost XL on the seatpost facing back. Total cost is about £500, and you’ve got 360° coverage. The Drift’s 5-hour battery means the rear camera runs all day without fuss, while the front camera handles the higher-quality capture.
Mounting Options and Where to Place Your Camera
Where you mount the camera affects footage quality, stability, and how well you can capture number plates. Let’s break down the options.
Handlebar Mount
The most common position. Provides a driver’s-eye view of the road ahead and captures junction approaches, traffic lights, and road signs.
- Best for: Front-facing dashcam footage
- Drawbacks: Picks up more vibration than other positions, handlebars can partially block the view on some e-bikes
- Recommended mount: GoPro handlebar/seatpost mount (about £25) or a K-Edge aluminium mount (about £40) for less vibration
Helmet Mount
Captures wherever you’re looking, which can be useful for recording interactions with drivers at junctions. The footage is more dynamic but less stable.
- Best for: Capturing conversations, looking at number plates as vehicles pass
- Drawbacks: Adds weight to your helmet, potentially annoying over long rides, and some helmet manufacturers warn it could compromise structural integrity in a crash
- Recommended mount: Adhesive curved mount (included with most cameras)
Seatpost Mount
The best position for a rear-facing dashcam. Points directly backwards at following traffic and captures number plates as vehicles approach.
- Best for: Rear-facing dashcam, close pass documentation
- Drawbacks: Can bounce on rough roads if the seatpost isn’t clamped tight
- Recommended mount: A dedicated seatpost clamp mount (about £15-20 from Amazon UK) rather than a universal strap, which slips
Under-Saddle Mount
A newer option that tucks the camera beneath the saddle rails. More discreet than a seatpost mount and partially sheltered from rain. Works well with smaller cameras like the Insta360 GO 3S.
Chest Mount
Provides the most stable footage of any position (your body absorbs vibration naturally) but only captures what’s directly ahead. Less useful for dashcam purposes since it often gets blocked by your arms when turning the handlebars. I’d skip this one for commuting use — it’s better suited to trail riding footage.
Power Solutions for Continuous Recording
Battery life is the single biggest challenge for e-bike dashcam setups. Here’s how to keep your cameras running all day.
USB Power Bank
The simplest solution. Strap a small power bank (10,000mAh is plenty) to your frame with a Velcro strap or cable tie, and run a short USB-C cable to the camera. This gives you:
- Roughly 6-8 hours of continuous 1080p recording with a GoPro
- Even longer with a DJI or Drift camera
- The ability to recharge at work and ride home with full power
The downsides are the trailing cable (which can snag) and the extra weight. A 10,000mAh bank weighs about 200g — noticeable but not significant on an e-bike that already weighs 20-25kg.
E-Bike Battery Tap
Some e-bikes have USB ports built into the frame or motor unit — Bosch’s Kiox 300 display, for example, includes a USB-C port. If yours does, you can power the camera directly from the e-bike’s battery. Check your e-bike’s manual or look for a USB port near the display unit.
If your e-bike doesn’t have a USB port, you can add one with a converter that taps into the motor battery. Companies like Supernova and Tout Terrain make purpose-built converters for Bosch and Shimano systems. Expect to pay about £50-80 for the converter, and you’ll want a bike shop to install it unless you’re confident with wiring.
Pass-Through Charging
Both the GoPro Hero 13 and DJI Osmo Action 5 Pro support pass-through charging — they can record while being powered via USB-C, without actually charging the internal battery. This is important because continuously charging a lithium battery shortens its lifespan. With pass-through mode enabled, the camera runs on external power and only touches the internal battery if the cable disconnects.
Setting Up Loop Recording and Incident Protection
A proper dashcam setup needs to record continuously without you touching it. Here’s how to configure your camera.
Loop Recording
Loop recording works exactly like a car dashcam — it records in chunks (usually 1, 3, or 5 minutes) and when the memory card is full, it overwrites the oldest files first. This means you never run out of space and the camera runs indefinitely.
To set up loop recording:
- Insert a high-endurance microSD card (Samsung PRO Endurance or SanDisk High Endurance — about £20-25 for 128GB from Amazon UK)
- Go to the camera’s recording settings and select “Loop” or “Dashcam” mode
- Choose a loop length — 5-minute chunks work well for cycling, as they’re long enough to capture context around an incident
- Enable the “Auto Power On” setting if available, so the camera starts recording when it receives USB power
G-Sensor / Incident Detection
Most modern action cameras have a built-in accelerometer. In dashcam mode, a sudden impact or hard braking triggers the camera to lock the current clip, preventing it from being overwritten. The GoPro Hero 13 calls this “HindSight” — it continuously buffers the last 15-30 seconds and saves them when triggered.
Recommended Memory Cards
Standard microSD cards aren’t designed for continuous recording and will fail within months. Use high-endurance cards specifically rated for dashcam use:
- Samsung PRO Endurance 128GB — rated for 43,800 hours of recording, about £22 from Amazon UK
- SanDisk High Endurance 128GB — similar rating, about £20 from Currys
- SanDisk MAX Endurance 256GB — if you want maximum storage before overwrite, about £40
Avoid the cheapest cards. I’ve had two generic cards fail mid-commute — the camera kept running but wasn’t actually saving anything. You don’t find out until you need the footage, which is the worst possible time to discover a dead card. If you’re looking after your e-bike maintenance schedule, add a monthly card health check to the list.
Weather Protection and Riding in UK Conditions
Let’s be realistic: if you ride in the UK, your camera will get rained on. A lot. Most action cameras handle rain without issues — the GoPro and DJI options are waterproof to depth, so surface rain is nothing. But there are a few UK-specific considerations.
Lens Fogging
Temperature changes cause lens fogging, especially on cold winter mornings when you bring the camera from a warm house to freezing air. Anti-fog inserts (included with most GoPro cases, or about £5 for a pack of 12) help, but the simplest fix is leaving the camera in your bag rather than your pocket — it acclimatises to outside temperature before you mount it.
Mud and Spray
Rear-facing cameras on seatpost mounts take a beating from road spray, especially without a mudguard. A simple lens protector — GoPro’s tempered glass protectors are about £15 for a pair — saves you from micro-scratches that gradually degrade image quality. Clean the lens before every ride with a microfibre cloth. It takes five seconds and makes the difference between readable and blurred number plates.
Winter Riding and Low Light
UK winter commutes mean riding in the dark, and this is where camera quality really matters. The GoPro Hero 13 and DJI Osmo Action 5 Pro both perform well in low light, but cheaper cameras (including the Drift Ghost XL) struggle. If you regularly ride in darkness, invest in the better sensor — number plates are impossible to read on grainy, dark footage.
Pair your dashcam setup with proper kit for the conditions. Good waterproof padded gloves keep your hands working when you need to adjust camera angle at traffic lights, and ensuring you’ve got the right e-bike frame size means a stable platform for mounting.
Legal Considerations for Cycling Dashcams in the UK
You’re fully entitled to record video while cycling on public roads in the UK. There’s no law against it. However, there are a few things to be aware of.
GDPR and Data Protection
Under UK GDPR, dashcam footage that captures identifiable people (faces, number plates) counts as personal data. For personal use — your own safety, insurance claims, reporting to police — this falls under the domestic purposes exemption and you don’t need to worry about data protection obligations.
However, if you upload footage to YouTube or social media, you’re processing personal data publicly. The Information Commissioner’s Office (ICO) recommends blurring faces and plates of uninvolved parties before sharing. Most video editing software can do this automatically.
Admissibility as Evidence
Dashcam footage is admissible as evidence in UK courts and is routinely accepted by police forces across the country. For the footage to be useful, ensure your camera’s date and time settings are correct — inaccurate timestamps can undermine your evidence.
Private Land
Recording on private land (car parks, private estates, retail parks) without the owner’s permission could potentially breach their privacy expectations. In practice, most dashcam footage captured incidentally while cycling through these areas isn’t challenged, but it’s worth being aware of.
How to Submit Dashcam Footage to the Police
Most UK police forces now have online portals for submitting dashcam footage of driving offences. The process varies slightly by force, but the general steps are:
- Check your local force’s website for their dashcam submission portal — most use a system called “Operation Snap” or similar
- Download the relevant footage clip (including 30 seconds before and after the incident for context)
- Note the exact date, time, and location of the incident
- Fill in the online form with your details and a description of what happened
- Upload the video file — most portals accept MP4 up to 100MB
- You may be asked to provide a witness statement confirming the footage is unedited
The police will review the footage and, if they agree an offence occurred, may issue a warning letter, a Notice of Intended Prosecution, or in serious cases refer for court proceedings. In my experience, close passes with clear footage typically result in a warning letter to the driver within a few weeks.
Not every force handles submissions the same way, and response times vary enormously. The Met and West Midlands are generally quick; some rural forces take months. Don’t let that put you off — every submission adds to the data that justifies better cycling infrastructure.
Maintaining Your Dashcam Setup
A dashcam is only useful if it’s actually recording when you need it. Build these checks into your routine:
Weekly Checks
- Review a short clip to confirm image quality is still good — lens scratches and fogging can develop gradually
- Check the memory card — format it monthly to prevent file system errors
- Inspect the mount — vibration loosens bolts over time, especially handlebar mounts
Monthly Maintenance
- Remove the memory card and format it in the camera (not on a computer — the camera formats it optimally for its own file system)
- Clean the lens with a microfibre cloth and lens cleaning solution
- Check all mount bolts and tighten if needed — a quarter turn is usually enough
- Inspect the USB cable if you’re using external power — fraying cables are a fire risk near the e-bike battery
- Update the camera firmware if a new version is available
Seasonal Considerations
Before winter, fit anti-fog inserts and check that your low-light footage is still readable. Before summer, check that the camera isn’t overheating during long rides — action cameras in direct sun on hot days can trigger thermal shutdown, though this is rarely an issue in the UK.
Frequently Asked Questions
Can I use any action camera as an e-bike dashcam? Technically yes, but not every camera is practical. You need one with decent battery life or pass-through charging support, loop recording capability, and good enough image quality to read number plates. Budget action cameras under £50 typically lack stabilisation and produce footage too shaky to be useful as evidence.
Is it legal to record while cycling in the UK? Yes, completely legal on public roads. You can record video and audio for personal safety and evidence purposes under the domestic purposes exemption of UK GDPR. If you share footage publicly on social media, blur faces and number plates of uninvolved parties.
How much does a complete e-bike dashcam setup cost? A budget single-camera setup starts at about £150 (Drift Ghost XL plus mount). A mid-range setup with a GoPro Hero 13 and proper mounting runs about £400-450. A dual-camera setup covering front and rear costs £500-600 including mounts and a power bank.
Do I need to tell people I’m recording? On public roads, no. There’s no legal requirement to display a sign or inform other road users that you’re recording. On private land, the landowner’s rules apply, but for normal cycling through car parks or retail areas, it’s not an issue in practice.
How long does dashcam footage need to be kept? If you’ve captured an incident you want to report, submit the footage to police as soon as possible — most forces ask for submissions within 14 days. For routine footage with no incidents, loop recording will overwrite it automatically within a few days depending on your card size and resolution settings.